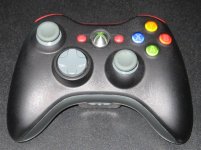
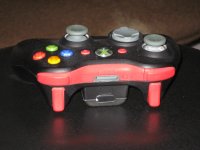
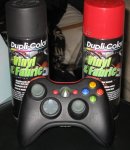
I finally got my universal remote apart without breaking it in half and decided to throw together a little how-to for all the people having trouble getting it apart to paint it.
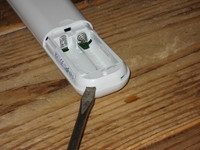
- Here we have the remote, battery cover removed. Notice the screw at the far end of the battery cover. It is normally covered by a sticker.
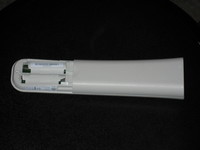
- Use a flat head screwdriver to pry the back tabs up, releasing the battery case.
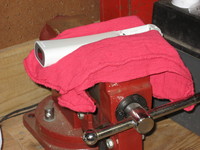
- I used a vice to apply pressure to both sides of the controller. Because of its shape, you’ll need to slide it back and forth gradually as you apply pressure to prevent any blemishes. Also be sure to use a rag to keep the plastic away from the metal.
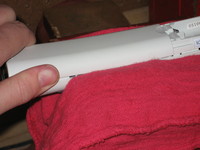
- Pull up at the seam until the side pops out. You’ll only need to get one side loose, the other will follow naturally.
- Bottom of remote removed.
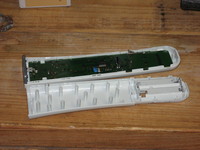
- Be sure to remove these metal bits before painting, thank me later.
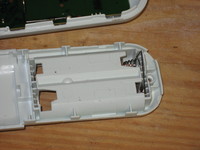
- Main board removed. I used masking tape over the IR screen, rather than try to separate it from the gray plastic before painting.
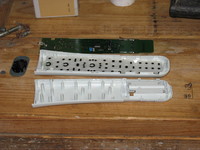
- Remote fully disassembled. Be sure not to lose anything!
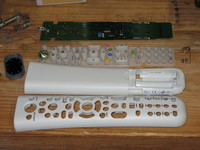
- Check out Alcaron’s tutorial for painting tips.
- Close ups of the individual parts after painting. I painted in the dark, which was a major mistake. Always paint during the day.
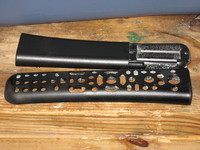
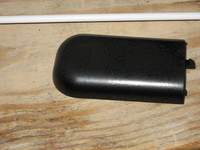
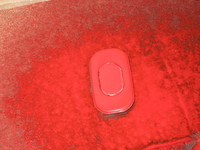
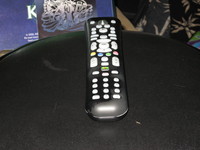
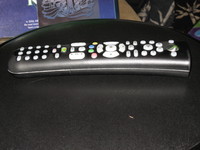
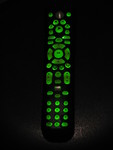
- And our finished product. Notice the awful paint job which I’ll be sanding down and repainting tomorrow. I just wanted to get this up today. Hope you all enjoyed!
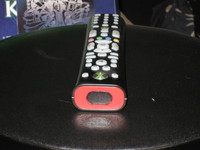
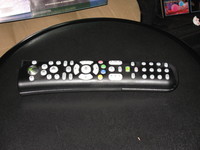
Please, let me know if you give this a shot, I really love the look.
